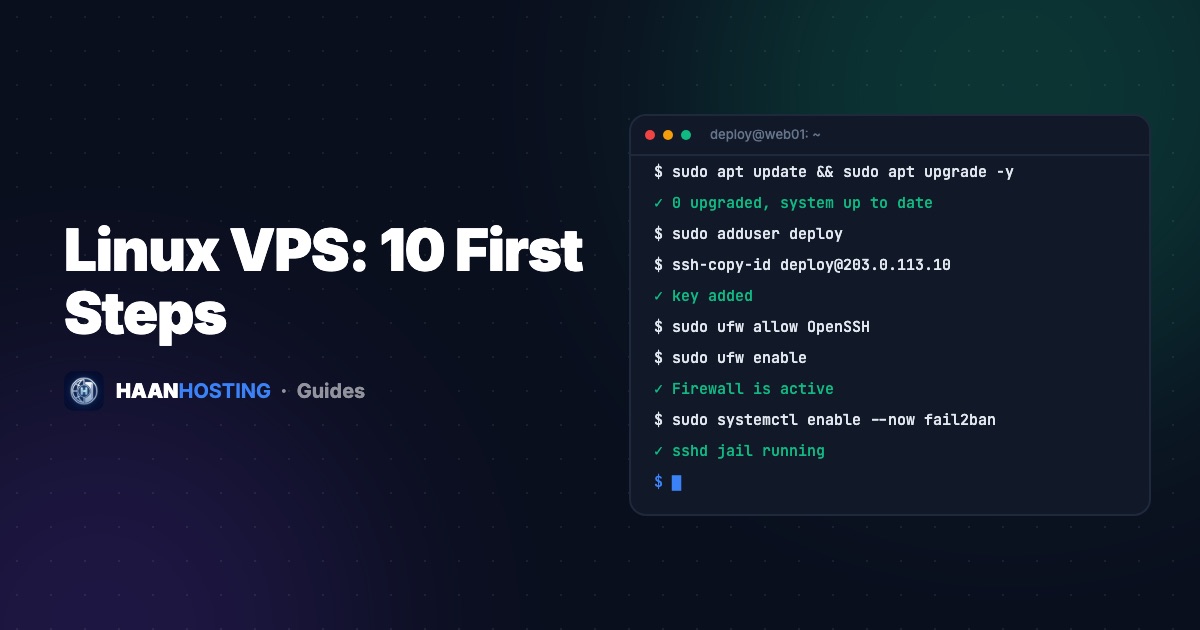
You've just bought a Linux VPS and received a root password and an IP address. Before you install a website, bot or app, spend 20 minutes on these 10 setup steps. They secure your server against the automated attacks that start within hours of it going online, and they set it up for stable performance. The commands below are for Ubuntu 22.04/24.04 and Debian, the most popular VPS operating systems.
Step 1: Connect to your VPS over SSH
On Windows 10/11, macOS and Linux, open a terminal (PowerShell on Windows) and run:
ssh root@203.0.113.10Replace the IP with your server's. Type yes to accept the fingerprint on first connection, then enter your root password. Prefer a graphical client? PuTTY and Termius work too.
Step 2: Update all packages
Fresh OS images are often weeks old. Install the latest security patches first:
apt update && apt upgrade -y
reboot   # if a new kernel was installed
Step 3: Create a non-root user with sudo
Working as root all the time is risky. A single typo can damage the system. Create your own user:
adduser deploy
usermod -aG sudo deploy
Step 4: Set up SSH key login
SSH keys are far stronger than passwords and can't be brute-forced in practice. On your own computer(not the server), generate a key and copy it to the VPS:
ssh-keygen -t ed25519 -C "my-laptop"
ssh-copy-id deploy@203.0.113.10
On Windows without ssh-copy-id, open C:\Users\YOU\.ssh\id_ed25519.pub, copy its contents and paste them into /home/deploy/.ssh/authorized_keys on the server.
Step 5: Disable root and password login
Open a new terminal and confirm you can log in as deploy with your key. Then edit the SSH config:
sudo nano /etc/ssh/sshd_config

# set these values:
PermitRootLogin no
PasswordAuthentication no

sudo systemctl restart sshStep 6: Enable the firewall (UFW)
Allow only the ports you need, and block everything else:
sudo ufw allow OpenSSH
sudo ufw allow 80/tcp    # HTTP  (only if hosting a website)
sudo ufw allow 443/tcp   # HTTPS (only if hosting a website)
sudo ufw enable
sudo ufw status
Step 7: Install Fail2ban
Fail2ban watches your logs and temporarily bans IPs that repeatedly fail to log in. The default config protects SSH straight away:
sudo apt install fail2ban -y
sudo systemctl enable --now fail2ban
sudo fail2ban-client status sshd
Step 8: Turn on automatic security updates
sudo apt install unattended-upgrades -y
sudo dpkg-reconfigure --priority=low unattended-upgrades
This installs security patches automatically every day, so your server stays protected even if you forget to log in.
Step 9: Set the hostname and timezone
Correct timestamps make logs, cron jobs and backups much easier to manage:
sudo hostnamectl set-hostname web01
sudo timedatectl set-timezone Asia/Karachi   # or UTC, Europe/London, America/New_York
Step 10: Add swap space (optional but recommended)
Swap acts as emergency memory, so processes don't crash if RAM briefly runs out. On a server with 8 GB RAM, 2 GB of swap is plenty:
sudo fallocate -l 2G /swapfile
sudo chmod 600 /swapfile
sudo mkswap /swapfile
sudo swapon /swapfile
echo '/swapfile none swap sw 0 0' | sudo tee -a /etc/fstab
On NVMe storage, swap is fast. Still, if your server uses swap constantly, it's a sign you need more RAM. See how to size your VPS.
New VPS checklist
- System fully updated
- Non-root sudo user created
- SSH key login working
- Root login and password login disabled
- UFW firewall enabled with only required ports
- Fail2ban protecting SSH
- Automatic security updates on
- Hostname and timezone set
- Swap configured
What next?
- Host a website: install WordPress on your VPS
- Secure it with HTTPS: install a free SSL certificate
- Not sure Linux is right for you? Compare Windows vs Linux VPS
Need a fast Linux VPS?
KVM Cloud VPS with NVMe SSD, a 10 Gbps port and full root access. Ubuntu, Debian or AlmaLinux, from $11.99/mo.
Deploy a Linux VPSFrequently Asked Questions
Update all packages, create a non-root sudo user, set up SSH key login, disable root and password login, then enable a firewall and Fail2ban.
Use SSH. On Windows, macOS or Linux, open a terminal and run ssh root@your-server-ip, then enter the password from your welcome email.
It is recommended. A small swap file (around 2 GB) prevents crashes if RAM briefly runs out. Constant swap use means you need more RAM.
Written by Tech Team
The HAAN HOSTING team deploys and supports VPS, Windows RDP and web hosting servers for customers in 20+ countries. Our guides are based on the questions we answer every day in support.